Farm Fare: Gingerbread House
Have you admired the beautiful Gingerbread Houses at East Hill Farm? Ever wished you could make one yourself? Now is your chance! We were lucky enough to work with our very own expert gingerbread house builder, Jane while she whipped up this cute little house.
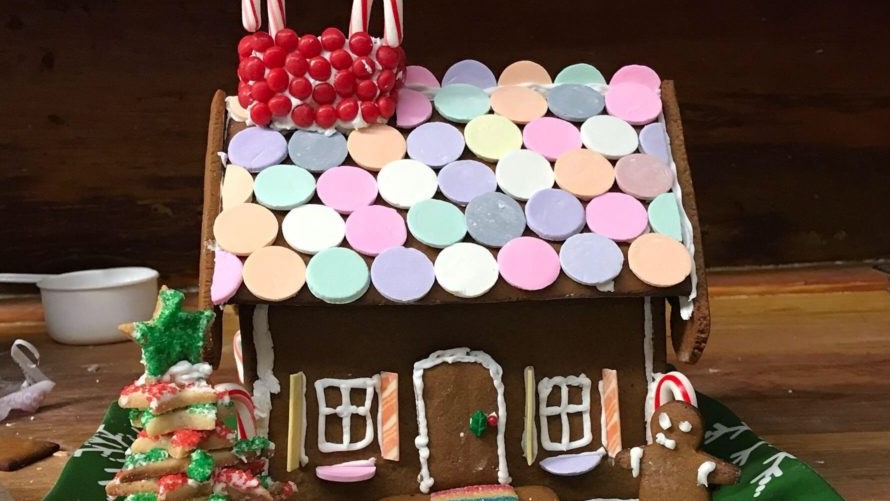
Follow these instructions and get creative this holiday season!
East Hill Farm Gingerbread Recipe:
Makes 2 small gingerbread houses or 1 large gingerbread house
Ingredients:
5 and 1/2 cups all-purpose flour
1 tsp. baking soda
1 tsp. salt
1 tsp. nutmeg
1 tsp. cloves
2 tsp. ginger
2 tsp. cinnamon
1 cup shortening (cannot be substituted with oil)
1 cup sugar
1 and 1/4 cups molasses
2 eggs, beaten and at room temperature
3 dashes of holiday spirit
Directions:
1. Preheat the oven to 350 degrees.
2. Thoroughly mix flour, baking soda, salt, and spices in a large bowl. Set aside with a 1 cup measuring cup.
3. In a large saucepan, melt shortening over low heat.
4. Once fully melted, add the sugar and stir until it is fully incorporated.
5. Add the molasses and stir.
6. Begin to stir the mixture quickly and add the beaten eggs. Continue to stir vigorously so not to get scrambled eggs.

7. Once all of the yellow is mixed in, remove the mixture from the heat. Let it sit until it is warm to the touch.
8. Add about 3-4 cups, 1 cup at a time, of the dry ingredients into the wet ingredients, stirring to combine.
9. Once a loose dough has formed, use the flour and spice mixture to coat the kneading surface. Pour the dough onto the coated surface.
10. Add a little of the flour mixture onto the top of the dough and begin kneading. Continue adding flour, a little at a time, and knead until a firm dough has formed. It should be similar to the consistency of playdough.
11. Divide the dough into 6-8 even sections and hand roll each section into a ball. Put the gingerbread balls into a bowl with plastic wrap on the top to keep the dough moist.
12. Place a damp towel on a flat surface with an upside down sheet tray on top.
13. Place one of the dough balls onto the sheet tray and begin rolling it out, 1 direction at a time, until it is about 1/8 inch thick.
14. Using a pointed knife, cut out one side of the gingerbread house. Tip from Jane: Create pattern pieces from cardstock to ensure all of the gingerbread house pieces are even and fit together. If using a pattern piece, press gently so as not to thin out the dough or create fingerprints.
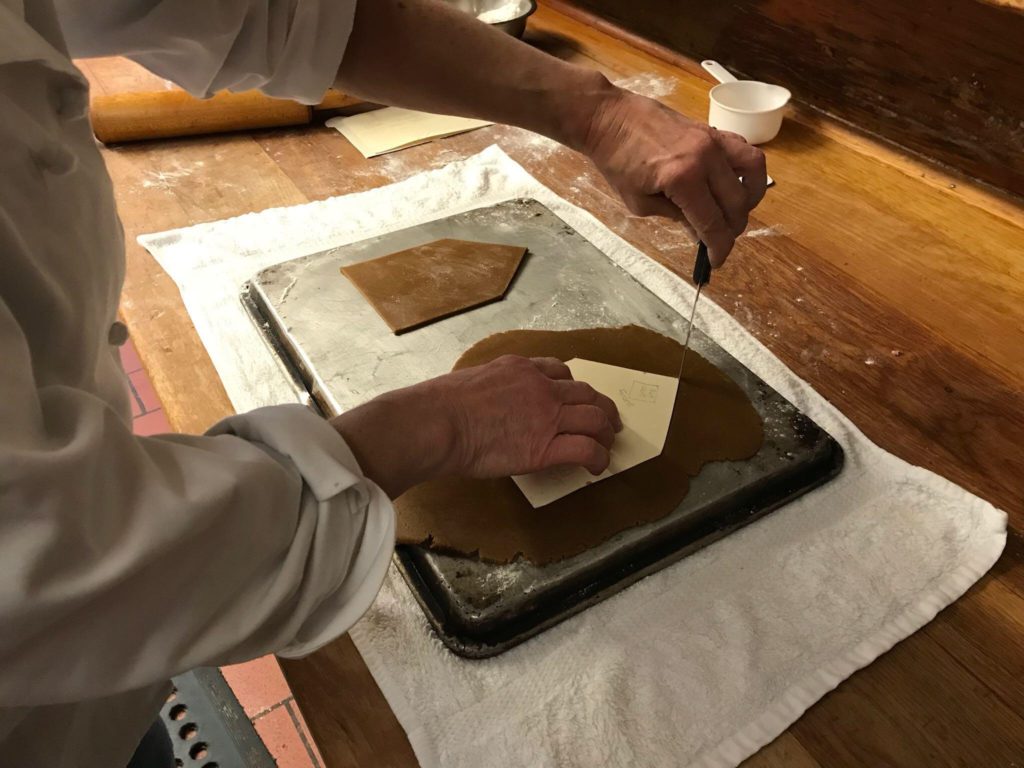
15. Carefully peel away the edges and lift the pattern piece if applicable.
16. Repeat these steps until the tray is full. Tip from Jane: When making the roof pieces, roll them slightly thinner than 1/8 inch so they are not too heavy for the walls to hold.
17. Bake 8-10 minutes until the edges are firm to the touch and a little browned. For accent pieces, such as a porch, door, chimney, or gingerbread person, bake for 7-8 minutes.
18. Immediately after removing from the oven, use a flexible spatula to loosen the bread from the tray. If adding windows, cut them out while the gingerbread is still on the tray.
19. Move the pieces to a cooling rack. Let them cool completely before constructing the house.
Royal Icing Recipe:
Ingredients:
4 cups confectioners sugar
6 Tbs. cold water
3 Tbs. meringue powder
1 pinch of yuletide gay
Directions:
1. Check the mixing bowl and remove any residual grease or moisture.
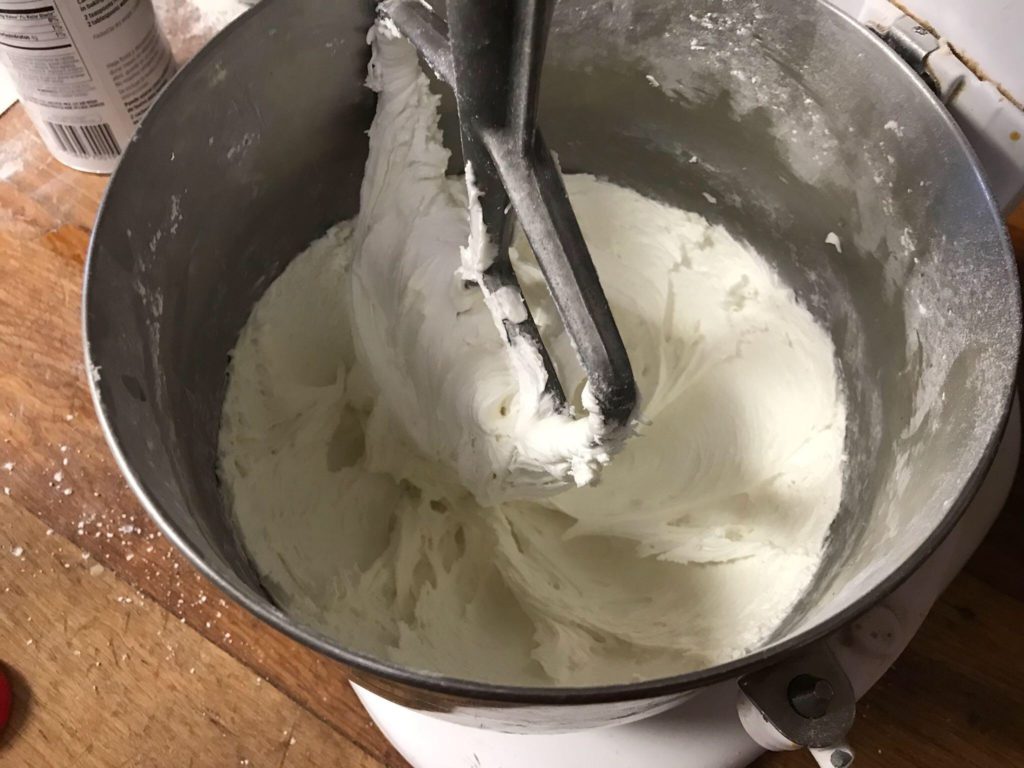
2. Attach the wire whisk tool to a mixer. Add all ingredients to the mixing bowl and turn the mixer on level 2. Once all ingredients are combined, turn the speed up to level 4.
3. After a few minutes, turn the mixer off and scrape the bottom of the bowl to mix in any excess sugar at the bottom of the bowl.
4. Turn the mixer back onto level 4 until there are peaks. The icing should be thick, just smooth enough to fit through the pastry tip. If the icing is too thick to fit through the tip, add ½ Tbs. water at a time and continue mixing until it becomes smoother.
Decorating the Gingerbread House:
Ingredients:
Assorted Candies
1 dash of patience
1 handful of creativity
Directions:
1. Prepare the building surface by making sure there is no moisture on it.
2. Put frosting in a pastry bag with a large tip. Cover the bowl with the extra frosting with a damp cloth to prevent the frosting from drying out.
3. Choose the most even piece to frost first. Frost the bottom and both sides. Tip from Jane: It does not take a lot of icing in order to stick. Set the piece aside.
4. Frost a second piece that will sit adjacent to the first in the same way. Hold the pieces gently down on the building surface for a few minutes until they stand on their own.
5. Repeat until all four sides are standing together.
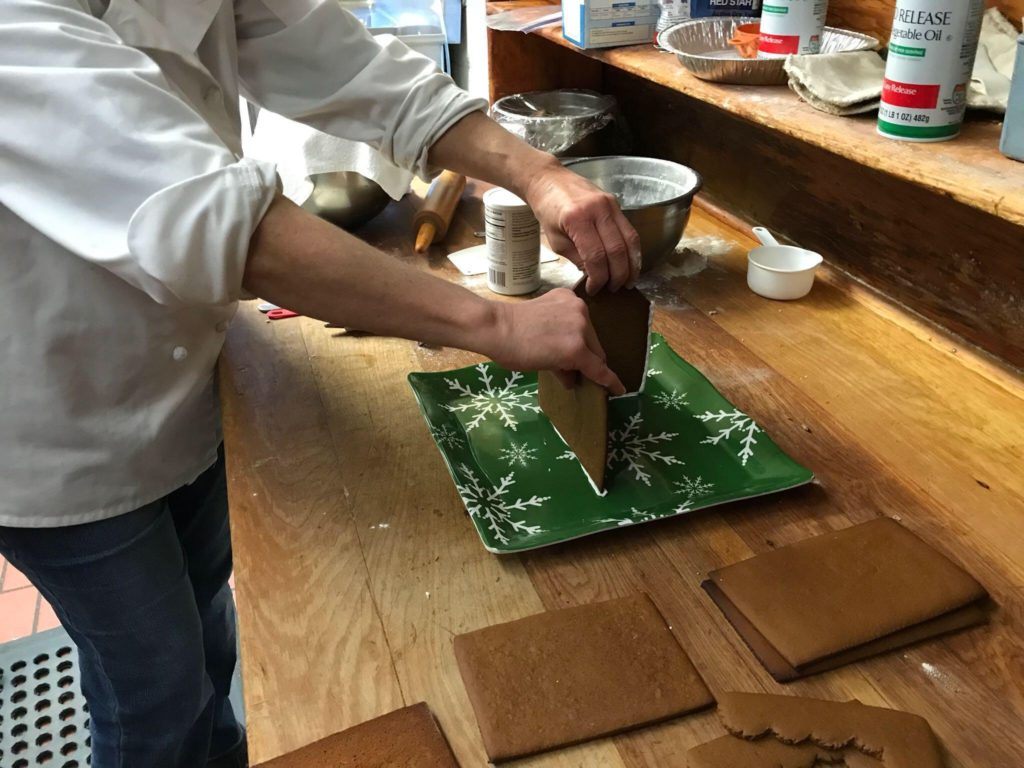
6. Check the inside corners of the gingerbread house to see if any light is shining through. Add additional icing support, from the inside, to those areas. If adding any décor to the inside of the house, place where the items should sit, using icing on the base to keep them from shifting.
7. For the roof, choose the more even piece first. Starting at the peak of the house, place icing on all sides where the roof will sit. Tip from Jane: Place icing on the diagonal of the lower wall so that it stays in place better.
8. Place the roof piece and gently hold for several minutes.
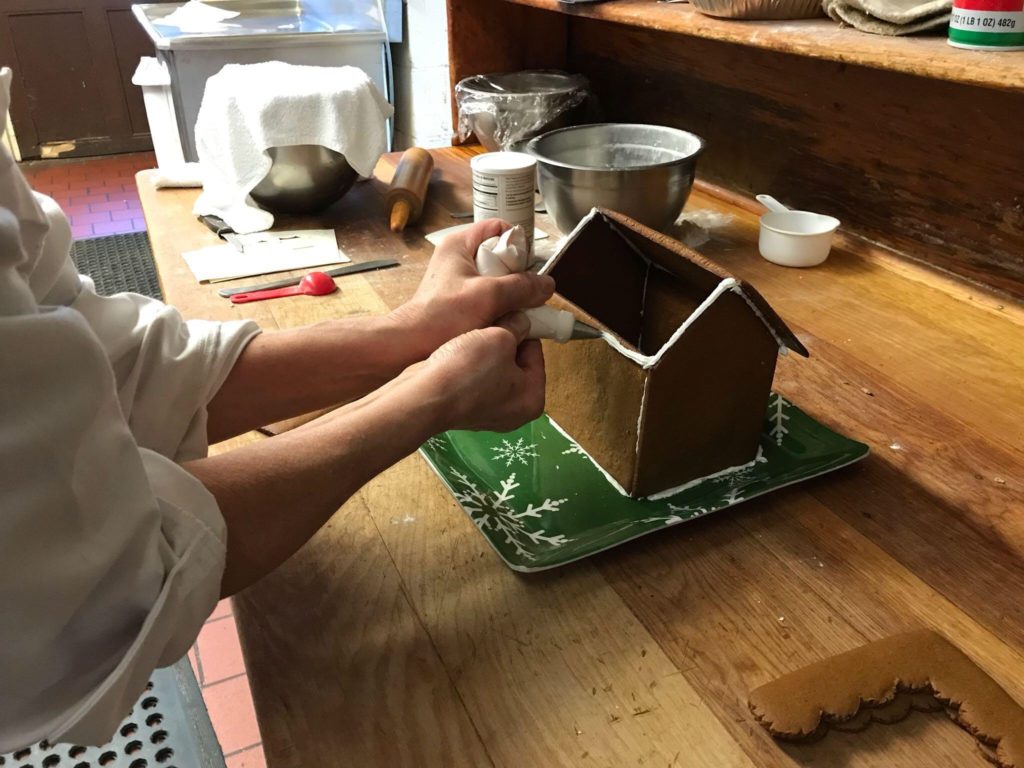
9. Ice all four sides where the second roof piece will sit. Place the second piece and hold both pieces gently together for another several minutes.
10. Attach any small details to the house, such as eaves, a chimney, porch, or door.
11. Swap out the large pastry tip for a smaller one.
12. Be creative in choosing different candies to decorate the house. Add icing for details on the windows, door, or chimney. If not cutting out windows, try piping them out. For added fun, try making a sugar cookie or candy tree to go with it!

Good luck… We can’t wait to hear about your gingerbread house creations!

Well, I have never made a Gingerbread House, but I have no excuse now, because you have provided directions. Maybe this Christmas with the granddaughter. Thank you so much for this post. Its quite wonderful.
Jane is the master… we made them with her before. She is so patient with both the ginger bread and the participants. Real fun project
Wonderful of you to share this we have made them before but only from kits. This time we will follow Jane’s great
Recipe and tips.